Every craft enthusiast knows that having an organized space is the secret to a smooth and productive creative process. Craft supplies can quickly pile up and take over a room, leaving you feeling overwhelmed.
Whether you’re a painter, a knitter, or a scrapbooker, organizing your craft supplies effectively not only saves time but can also inspire you to create more.
In this article, we’ll share 14 smart ways to organize your craft supplies, along with extra tips that will help you maximize your space and creativity!
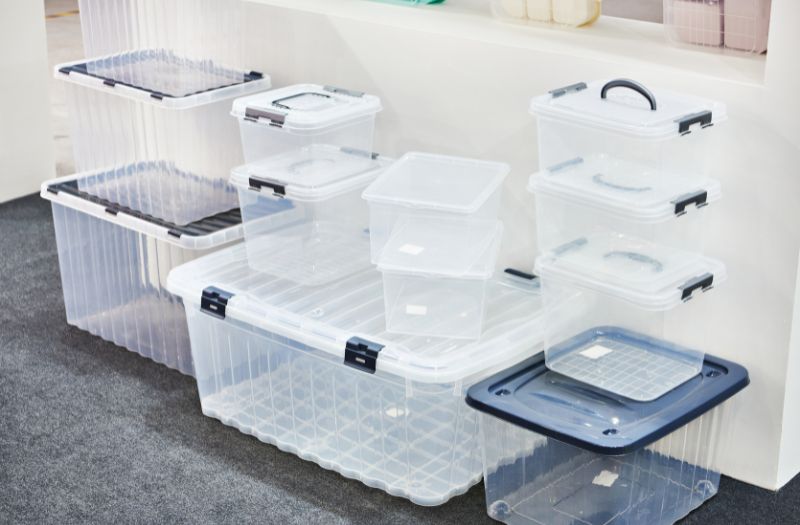
1. Use Clear Storage Bins
Clear bins allow you to see what’s inside without having to open each container, making it easy to grab what you need right away. Stackable bins work especially well in small spaces, allowing you to build upward and save precious table or floor space.
- Tip: Label each bin clearly, even if it’s clear—this can help you quickly locate supplies and keep things in order.
- Why: A clear storage system reduces time spent hunting for materials, keeping your creative flow uninterrupted.
2. Set Up a Pegboard Wall
A pegboard wall is one of the most versatile storage solutions for a craft room. With adjustable hooks, baskets, and holders, you can customize the layout to fit your specific supplies, from scissors to spools of thread.
- Tip: Arrange frequently used tools at arm’s reach, and less commonly used items higher up to optimize your workflow.
- Why: A pegboard keeps tools visible and accessible, allowing you to switch between projects with ease.

3. Sort by Color or Category
Sorting supplies by color or category can make it easier to locate items and create a visually appealing setup. This method works well for items like beads, markers, or paper, giving your space a rainbow-like aesthetic that can also spark creativity.
- Tip: Use separate containers for each color or category and label them if needed.
- Why: A color-coded or categorized system not only looks pleasing but also streamlines your process, keeping your supplies organized intuitively.
4. Opt for a Rolling Cart
A rolling cart offers mobile storage that can move with you around your workspace or even be stored in a different room when not in use. The multi-tier design is perfect for organizing various crafting essentials in a compact space.
- Tip: Dedicate each tier to a different type of supply, like paints on one level and brushes on another.
- Why: A rolling cart keeps everything you need within reach, while its mobility allows for flexibility in small or shared spaces.
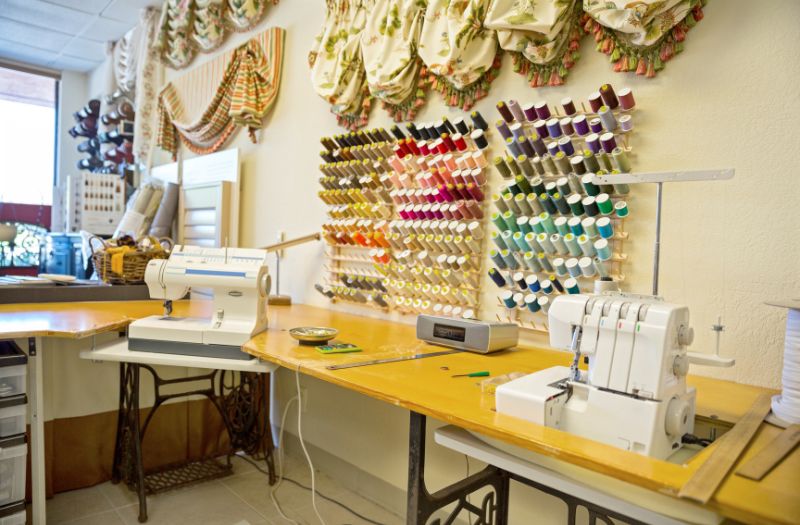
5. Install Wall-Mounted Shelves
Vertical storage is essential in a creative space, especially if you’re working in a smaller area. Wall-mounted shelves allow you to display supplies in an organized fashion while keeping your workspace clear.
- Tip: Use open shelves for quick access to frequently used items, and add decorative bins for smaller, loose materials.
- Why: Shelves save valuable tabletop space and give your supplies a permanent home, reducing clutter and improving your workspace’s overall functionality.
6. Utilize Mason Jars and Small Containers
Small items like buttons, sequins, or beads can quickly become lost if not stored properly. Mason jars or small, clear containers allow you to see the contents, adding a rustic charm to your craft room.
- Tip: Arrange jars on a tray or dedicated shelf to keep them organized and accessible.
- Why: Clear jars make it easy to locate specific supplies, while the uniform look adds a tidy, attractive element to your space.
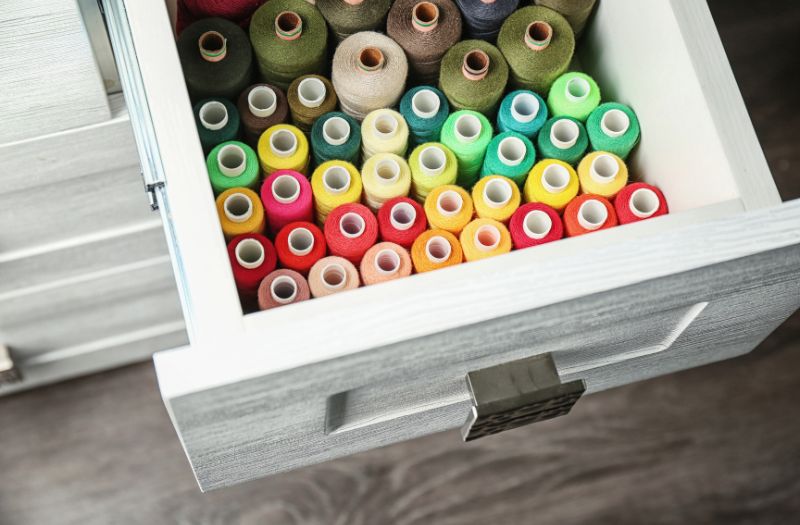
7. Create a Drawer Organizer System
Drawer organizers are ideal for keeping small items in designated spots without turning into a chaotic mess. Use a mix of trays and dividers to store everything from scissors to glue sticks.
- Tip: Dedicate each drawer to a different category, such as adhesives, cutting tools, or embellishments, to maintain order.
- Why: Organizing drawers by category helps you quickly find the tool or material you need, keeping your space efficient and clutter-free.
8. Use Stackable Drawers or Cubes
Stackable drawers or cube organizers are perfect for storing different types of supplies in a compact, organized way. Each drawer or cube can hold a specific category of items, allowing for easy access and maximizing vertical space.
- Tip: Arrange each drawer or cube by type, such as paper in one, paints in another, and tools in another, to keep things tidy and easy to find.
- Why: Stackable storage allows for flexible organization and keeps everything in view, helping you avoid clutter while making the most of limited space.
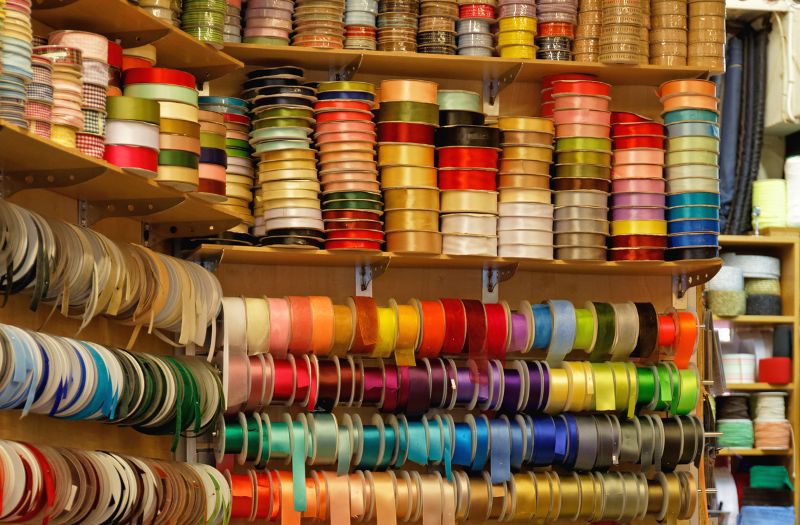
9. Hang a Ribbon Organizer
If you work with ribbon frequently, consider a ribbon organizer that allows you to pull and cut ribbon without unraveling the whole roll. Hanging ribbon racks save space and keep your rolls neatly in place.
- Tip: Install it near your crafting area so you can easily grab and cut ribbons while working.
- Why: A ribbon organizer reduces mess and makes it easier to see all your color options, adding to the flow of creativity.
10. Designate a Crafting Table with Built-In Storage
A table with built-in drawers or compartments provides a functional workspace with storage for the essentials. Look for a model with storage underneath to maximize organization without crowding your workspace.
- Tip: Use the table’s built-in compartments for frequently used items, keeping other tools stored nearby.
- Why: Built-in storage allows you to keep essentials on hand while maintaining a clean, open workspace for crafting.
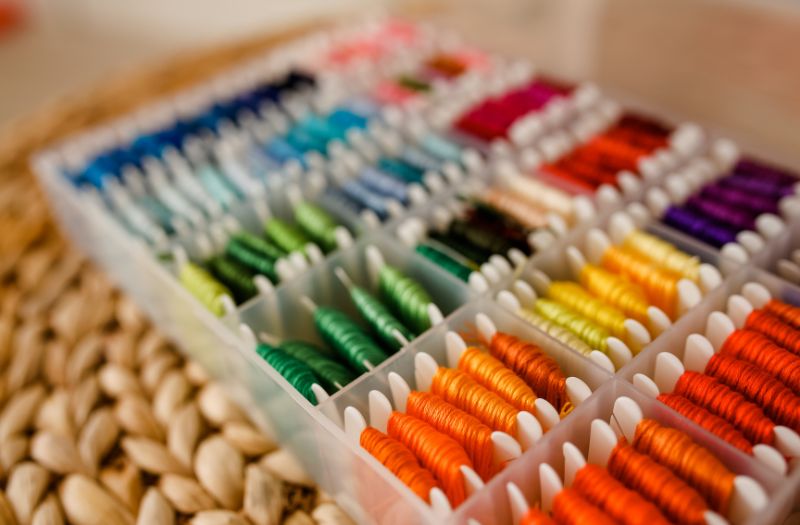
11. Label Everything
Labels are essential for any organized space, especially if you have a wide variety of craft supplies. Label bins, drawers, and containers with clear descriptions to easily find what you need.
- Tip: Use a label maker or print custom labels for a uniform, polished look.
- Why: Labels eliminate guesswork, making it easy to maintain organization and locate supplies.
12. Keep a “Scrap Bin” for Reusable Materials
Crafting often leaves behind scraps that could be useful for future projects. Keep a dedicated bin for these bits and pieces so you can reuse them instead of letting them go to waste.
- Tip: Periodically sort through the scrap bin and remove items that are no longer useful to avoid clutter.
- Why: A scrap bin encourages creativity and resourcefulness, allowing you to recycle materials in new ways.
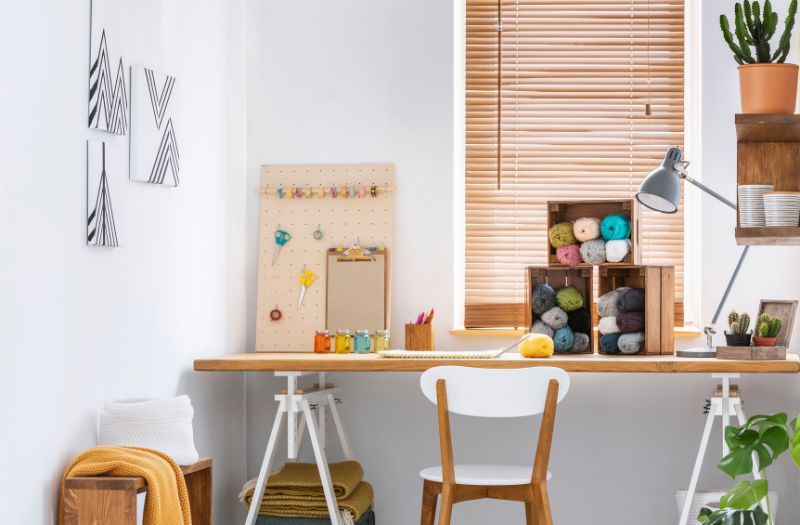
13. Install Hanging Baskets
Hanging baskets offer a stylish way to store small items like fabric, markers, or paints without taking up surface space. Hang them on walls or from the side of a table for quick, easy access.
- Tip: Dedicate each basket to a specific type of supply to avoid mix-ups.
- Why: Hanging baskets keep supplies off your work area, freeing up space and adding a decorative touch to your craft room.
14. Designate a “Work in Progress” Bin
Sometimes projects take more than one sitting to complete, which can lead to half-finished items cluttering your workspace. A dedicated “work in progress” bin allows you to store these items neatly.
- Tip: Place the bin within easy reach so you can quickly pick up where you left off.
- Why: A work-in-progress bin reduces workspace clutter while keeping projects accessible, allowing you to maintain momentum without mess.
Conclusion:
With these X strategies, you’ll transform your craft space into an organized, inspiring environment that’s perfect for creativity. Crafting should be enjoyable, and with an organized system in place, you’ll spend more time creating and less time searching for materials. Whether you’re a casual crafter or a serious hobbyist, these ideas will help keep your supplies organized, accessible, and ready for your next project.

If you’re looking for a storage facility to store your belongings, Snell Mini Storage has got you covered. At Snell Mini Storage, we offer a wide range of unit selections. To learn more about our self-storage facility, please check out our website at https://snellministorage.com/.

