Efficient storage isn’t just about putting things away—it’s about making sure you can find them when needed and keep your home organized. Whether you’re tackling a cluttered closet or optimizing a full garage, labeling is a simple yet powerful tool to bring order to any space.
Labels help provide clarity, improve accessibility, and make everything easier to manage.
In this article, we’ll delve into 5 practical strategies to label your storage systems effectively. These approaches will ensure that each item has a designated space, and your home remains tidy and easy to navigate.
1. Choosing the Right Type of Label for Different Storage Containers
The first step in creating an organized storage system is selecting the right label for your containers. Not all labels are created equal, and the type of container you are using will determine the most effective label choice.
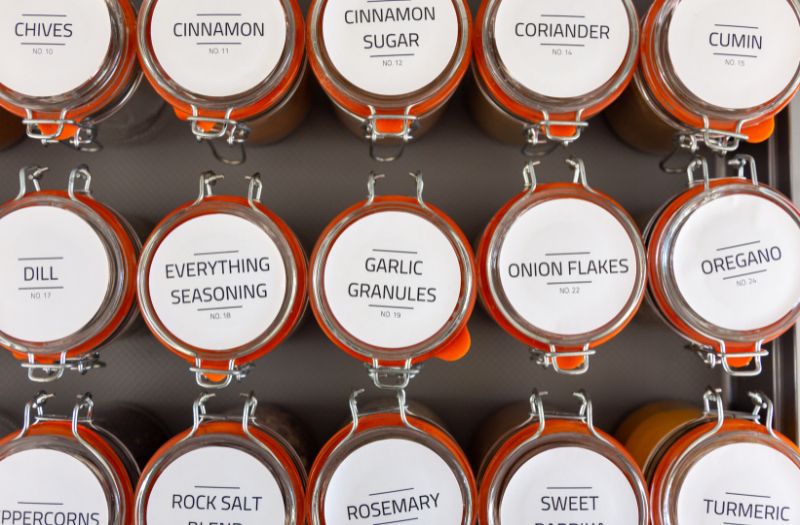
Whether you’re storing items in plastic bins, fabric baskets, or glass jars, each type of storage needs a suitable label to ensure durability and readability.
Common Label Types to Consider:
- Adhesive Stickers: Perfect for smooth surfaces like plastic bins, glass jars, or cardboard boxes, adhesive labels are versatile and come in various sizes. They can be permanent or removable, depending on whether you want to change the label later.
- Chalkboard Labels: Ideal for reusable storage containers, chalkboard labels allow you to write and erase text as needed. These are great for seasonal items, such as holiday decorations or pantry goods, as you can update them year after year.
- Fabric Labels: For soft storage options like baskets or fabric bins, cloth labels are the best choice. They attach easily and provide a sturdy, readable surface for labels that will be handled frequently.
- Plastic Label Clips: If you’re working with baskets or containers that don’t have a smooth surface for adhesive labels, plastic clips are a perfect solution. They can be easily swapped out if your storage needs change.
By matching the label type to your container, you ensure that it remains attached, readable, and suitable for the environment it’s placed in.
2. Labeling for Easy Access: How to Use Multiple Sides
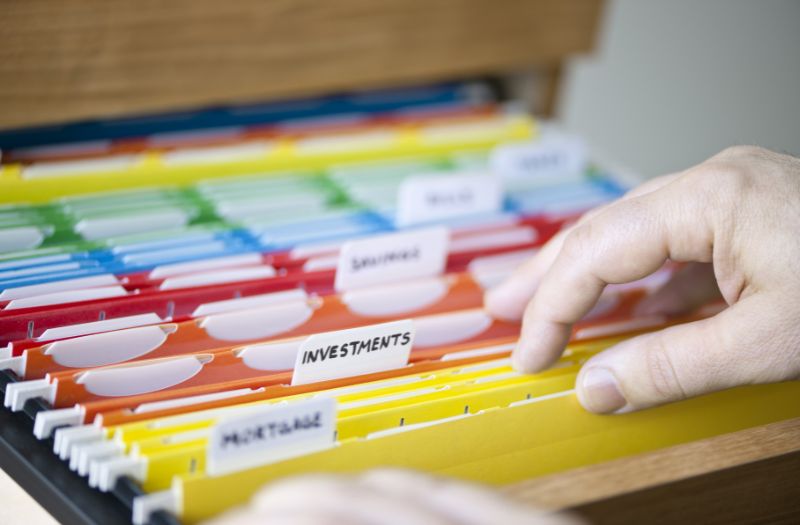
When you’re storing items, particularly in stacked or closely packed containers, labeling just one side may not be enough. You could waste time flipping through multiple bins to find what you need. To make your system more efficient, always label multiple sides of each storage container.
Why Label Multiple Sides?
- Stacked Containers: If your containers are stacked on top of each other, labeling only one side can make it difficult to see what’s inside without moving them. Labeling all visible sides makes it easy to identify a bin, even if it’s on a high shelf or buried beneath other boxes.
- High Visibility: Place labels on the front, back, and sides of each container. Using a clear and large font ensures that you can spot the correct container from any angle.
- Quick Identification: If you’re in a rush or need to grab something quickly, having labels on multiple sides eliminates the need to rearrange or open containers just to figure out what’s inside.
Tip:
For bins that are regularly moved, using durable materials like waterproof labels ensures that your labels stay intact no matter how often the container is shifted around.
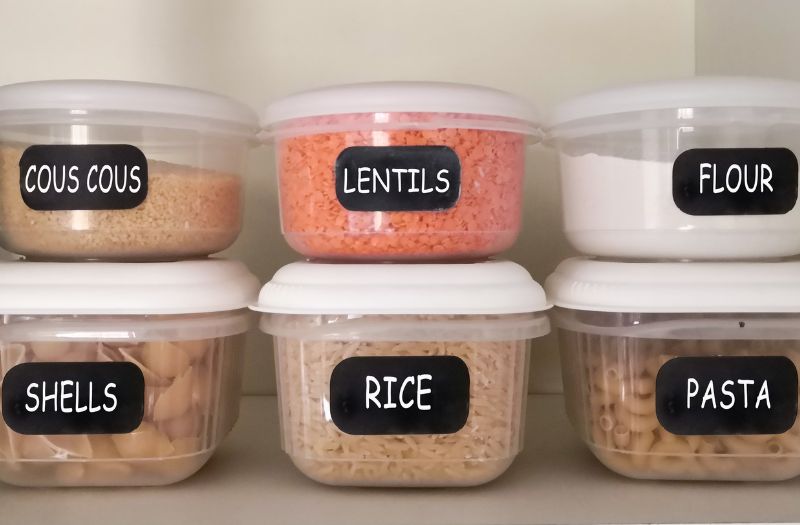
3. Clear Fonts for Better Readability
When it comes to labels, clarity is key. The goal of labeling is to make it easier to identify the contents of each container at a glance. This means using fonts that are large, clear, and easy to read, even from a distance.
What Makes a Good Label Font?
- Legibility: Choose fonts that are easy to read, even in small sizes. Sans-serif fonts like Arial or Helvetica are clean and simple, making them a popular choice for labels.
- Bold and Large Text: Make your labels bold and large enough so that you can read them from a distance. Avoid cluttered or overly decorative fonts that may look good but are hard to decipher.
- Contrast: Ensure there’s good contrast between the text and the background color. Dark text on a light background is easiest to read, and vice versa.
Tip:
Consider using a label maker with adjustable font sizes and different styles to create uniform and professional-looking labels that are both attractive and functional.
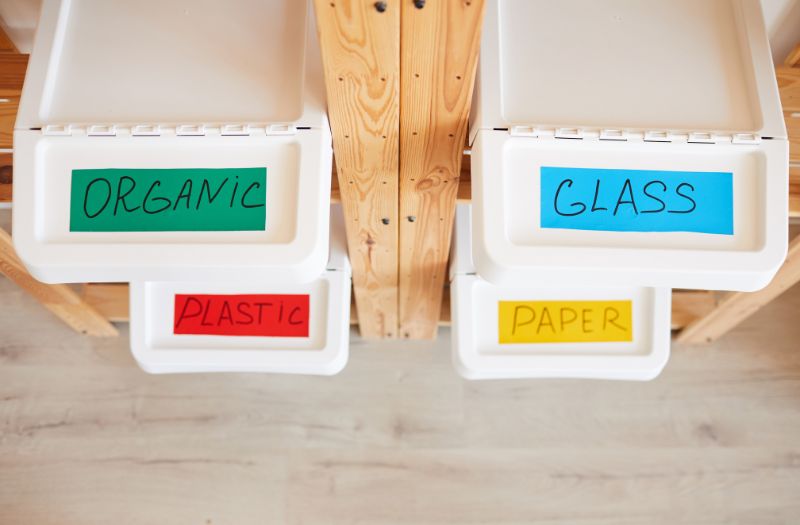
4. Color-Coding for Quick Identification
Color coding is an effective way to visually organize your storage and quickly identify where items belong. Instead of using the same color for all labels, consider assigning different colors to specific categories or rooms, helping you instantly locate what you need.
How to Use Color-Coding:
- Room-Based Color-Coding: For example, use blue labels for kitchen items, red for bathroom essentials, and green for children’s toys. When everything in a room is color-coded, it’s easy for family members or roommates to find and return items to the right place.
- Category-Based Color-Coding: If you’re organizing different types of items within a room, color-code your labels based on category. For instance, in your pantry, you could use yellow labels for canned goods, green for dried goods, and blue for baking supplies. This makes sorting and finding items a breeze.
- Efficiency for Multiple People: Color-coding is especially helpful in shared spaces or homes with multiple people. It’s easy to understand which color corresponds to which category, and the system can be universally understood without confusion.
Tip:
Keep in mind that color coding doesn’t need to be limited to labels alone. You can also use colored containers to match the labels, reinforcing your organizational system.
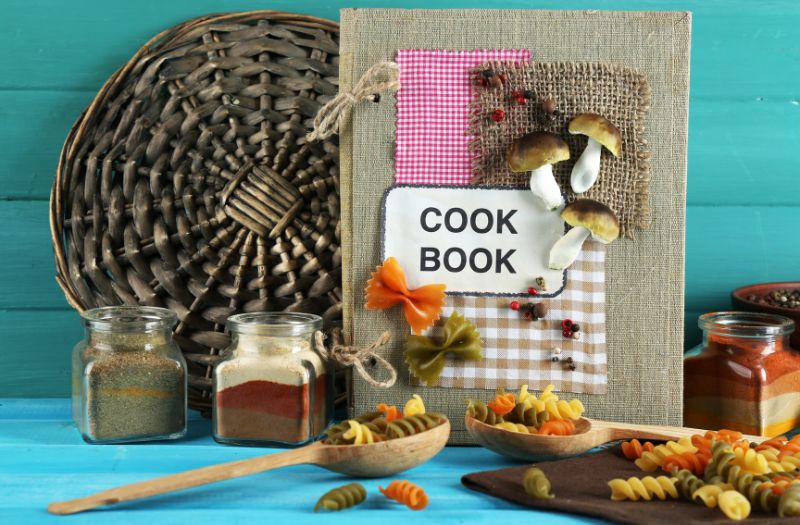
5. Descriptive and Detailed Labels for Maximum Clarity
When it comes to labeling storage containers, avoid using vague or broad terms like “Miscellaneous” or “Stuff.” The more specific you can be with your labels, the easier it will be to retrieve the right item when needed.
How to Be Specific with Labels:
- Descriptive Terms: Use detailed labels that describe the contents in more specific terms. For example, instead of just “Books,” label it “Cookbooks” or “Children’s Books.” This ensures that you know exactly what’s inside each container without having to open it.
- Use Dates for Seasonal Items: For items that you use only once in a while, like holiday decorations or seasonal clothes, include the year on your labels. For example, label a container “Winter Clothes 2023” or “Christmas Decorations 2023” so you can easily find them again next year.
- Identify the Contents: The more you describe, the easier it will be to grab the right thing quickly. Labeling a box of kitchen tools as “Cooking Utensils,” “Mixing Bowls,” or “Baking Pans” eliminates the need to rummage through several boxes to find what you need.
Tip:
Consider using both descriptive words and pictures, especially if you have children or others in your household who may benefit from a visual cue.
Conclusion
Labeling is one of the simplest yet most effective strategies for organizing your home and maximizing storage efficiency. By taking the time to choose the right type of label, making sure your labels are clear and descriptive, and implementing color-coding, you can create a home that is not only organized but easy to navigate.
These practical strategies ensure that everything has its place, making it easier to find what you need and reducing clutter in the process.
So, take a step towards a more organized, stress-free home by implementing these labeling tips today—you’ll be amazed at how much more efficient and enjoyable your space can become!

If you’re looking for a storage facility to store your belongings, Snell Mini Storage has got you covered. At Snell Mini Storage, we offer a wide range of unit selections. To learn more about our self-storage facility, please check out our website at https://snellministorage.com/.
